How to Pay NBI Clearance Using GCash in 2025?
Completing your NBI Clearance payment becomes an easy and smooth step for everyone, and it is done with the help of a digital wallet like GCash. If someone wants a fast, cash-free way to pay, GCash is a simple option you can use anytime, anywhere. In this article, we will discuss how to Pay NBI Clearance Using GCash.
NBI Clearance is an important document in the Philippines that is mostly needed for employment, travel, and other legal purposes. Before this, you had to wait in line for payment at payment centers, but you can complete the process with just a few clicks on your phone.
This guide will help you to learn how to Pay NBI Clearance Using GCash, including the requirements before you pay and step-by-step details. We add solutions for the problems and frequently asked questions and know why using GCash is a better step for your NBI Clearance transaction.
Why Choose GCash for NBI Clearance Payments?
It becomes easier to pay for NBI Clearance using GCash without any problem. Rather than going to a payment center or waiting in line at the bank, you can manage everything with the help of a few clicks on your phone. It is safe, easy to track, and available anytime, making it a great option for people with busy schedules.
The NBI Clearance payment process from GCash is simple and smooth. When you apply for NBI Clearance online and get your reference number, you simply open your GCash app, select the correct biller, input your details, and confirm the payment. When it’s done, your transaction is instantly recorded, saving you time and effort.
Prerequisites Before Making a GCash Payment
In the past, you could pay for your NBI Clearance by using GCash, and there are some important points to complete. Making sure your account is ready to make the payment will save you time and avoid any problems.
Ensure Your GCash Account is Fully Verified
If you want to Pay NBI Clearance using GCash successfully, your account is required to be fully verified. It means completing the KYC process, which contains submitting a valid ID and a selfie verification. If the verification is incomplete, certain payment features may be restricted, so always confirm that your account is ready before the payment attempt.
Confirm Sufficient Funds in Your GCash Wallet
Before you proceed, always check that your GCash wallet has sufficient money to pay for the NBI Clearance fee. In case the wallet balance is not enough, you can easily add money by transferring funds from your bank, using a GCash partner outlet, or through online banking. Having enough funds makes the payment process smooth.
Obtain Your NBI Reference Number
An NBI Reference Number is necessary for the payment process. It can be sent after completing the online application for your NBI Clearance. This special number is used to track your payment and connect it to your application, so be sure to have it ready when you start the GCash payment process.
Step-by-Step Guide to Paying NBI Clearance via GCash
Paying for your NBI Clearance through GCash is a fast and smooth process. You have to follow the steps provided here to complete your payment.
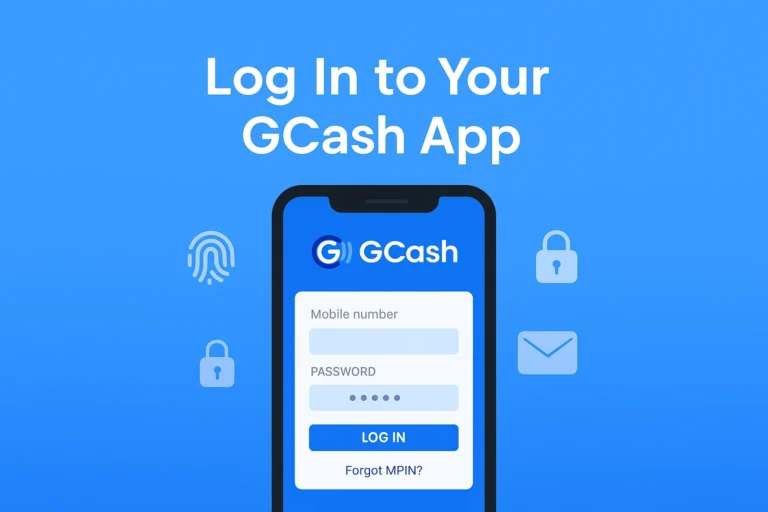
Step 1: Log In to Your GCash App
Open your GCash app and log in with your PIN or fingerprint. If you have not logged in before, there is a need to enter your registered mobile number and make a secure PIN to access your account.
Step 2: Navigate to the ‘Bills’ Section
When the login process is completed, click on the Pay Bills option found on the home screen. This will take you to the Bills section, where you can easily select the appropriate category for your payment.
Step 3: Select the ‘Government’ Category
In the Bills section, browse through the list of categories and select Government. This category includes payments for different government services, including the NBI Clearance.
Step 4: Choose ‘NBI’ from the List
When you select the Government category, you will be presented with a list of billers. Search for the NBI and select it. This will open up the payment screen for your NBI Clearance.
Step 5: Enter Payment Details
Input the necessary details:
- Reference Number: This is the number you received when you completed your NBI application.
- Amount: put the exact amount for your NBI Clearance payment.
- Contact Information: make sure your phone number is perfect so that you can easily receive a confirmation message.
Step 6: Review and Confirm Your Payment
Check the payment details you entered carefully. Always confirm that your reference number, amount, and contact details are correct. Once it gets confirmed, click on the Pay button to start the payment. GCash will prompt you to confirm the transaction.
Step 7: Save the Confirmation Message for Your Records
When the payment is done successfully, you will receive a confirmation message through SMS within the GCash app. Save this message or screenshot it for dealing with future reference. This is proof of payment and is needed for your NBI clearance.
FAQs
Final Verdict
Paying for your NBI Clearance with the help of GCash provides different benefits, like being fast, easy, and secure. The days when you had to wait in long lines or deal with complicated steps are gone. With just a few taps on your phone, you can pay from home or anywhere else.
Using GCash makes the payment process easier and lets you easily track your transactions. It’s a practical choice for anyone looking for a simple and reliable way to pay government fees.
